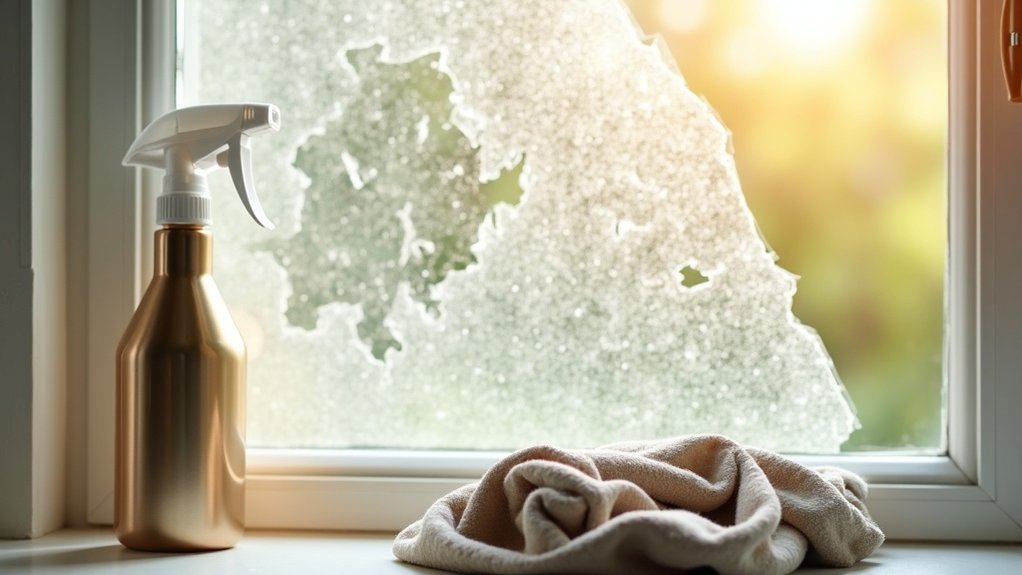
To remove window film residue, start by applying an adhesive remover to loosen the glue. Use a bladed scraper to gently lift the residue off the glass. Make sure the window is cool, allowing the adhesive remover to soak for about 30 minutes for better results. After scraping, clean the glass thoroughly with a microfiber cloth for clarity. Follow these steps carefully, and you’ll achieve a clear view in no time. Discover more about tools and techniques next!
Key Takeaways
- Apply adhesive remover to loosen the residue, allowing it to soak for at least 30 minutes for effective results.
- Use a bladed scraper to gently lift the residue from the glass without scratching its surface.
- Utilize a heat gun or hair dryer to soften stubborn adhesive for easier removal.
- Clean the window thoroughly with soapy water or a suitable cleaner to achieve a streak-free finish.
- Always wear protective gear and ensure proper ventilation while working with chemical solvents.
Signs You Need to Remove Window Film
If you notice discoloration or fading on your window film, it’s a clear sign that the dye has broken down and it’s time for a change.
Cracks in the film indicate brittleness from prolonged sunlight exposure, which can compromise its appearance and functionality.
If the film no longer effectively reduces heat or glare, consider replacing it to restore its original performance.
Significant scratches can impair visibility and detract from your window’s aesthetics, signaling a need for removal.
Finally, delamination, causing a distorted or cloudy look, is a strong indicator that your old window film should be removed promptly.
Tools Needed for Removing Window Film Residue
Once you’ve decided to remove your window film, having the right tools makes the process smoother and more efficient.
Start with a bladed scraper to effectively lift off adhesive residue without scratching the glass. A heat gun or hair dryer can be handy for softening the adhesive, making it easier to scrape away.
Prepare a spray bottle filled with soapy water or a dedicated adhesive remover to loosen the residue. Don’t forget lint-free microfiber cloths for a streak-free finish, and keep multiple cleaning cloths on hand for efficient cleanup.
With these tools, you’re set for a successful removal process!
Step-by-Step Guide to Removing Window Film Residue
To effectively remove window film residue, you’ll need to gather the right tools and prepare your workspace.
Start by applying a suitable adhesive remover to loosen the residue.
Then use scraping techniques to lift it off without damaging the glass.
Finally, finish with a thorough cleaning to guarantee a clear view.
Preparation and Tools Needed
Before diving into removing window film residue, it’s essential to gather the right tools to make the process efficient and effective.
You’ll need a bladed scraper, a lint-free microfiber cloth, and a spray bottle filled with either soapy water or an adhesive remover.
Make sure the window surface is cool before applying your cleaning solution, as this helps the adhesive remover work better.
Generously apply the remover and let it soak for at least 30 minutes.
This preparation sets you up for success, allowing you to tackle the residue with ease and achieve a clear, polished window finish.
Adhesive Removal Techniques
While removing window film residue might seem challenging, following a systematic approach can make the task manageable.
Start by soaking the adhesive residue with a citrus-based glue remover or acetone for about 30 minutes. This softens the glue.
Gently scrape off the softened residue with a bladed scraper, being careful not to scratch the glass. For stubborn spots, reapply the remover and keep the area wet while scraping.
Once you’ve removed the residue, clean the window thoroughly with a lint-free cloth and window cleaner.
Remember to wear gloves and safety glasses for protection during your adhesive removal techniques.
Final Cleaning Steps
Once you’ve successfully removed the window film and its residue, it’s crucial to follow a few final cleaning steps to restore clarity to the glass. First, use a suitable window cleaner to thoroughly clean the window, guaranteeing all adhesive particles are gone. Then, dry the surface completely with a clean, lint-free cloth to avoid streaks.
| Step | Action |
|---|---|
| 1 | Apply window cleaner |
| 2 | Wipe with a microfiber cloth |
| 3 | Dry with a lint-free cloth |
| 4 | Inspect for streaks |
| 5 | Repeat if necessary |
This will guarantee a polished finish!
Recommended Products for Glue Removal
When it comes to removing window film residue, having the right products on hand is crucial for achieving the finest results.
A highly recommended option is De-Solv-it 750ml Multi-Purpose Cleaner, a citrus-based glue remover that’s both effective and environmentally friendly.
For tougher adhesive residues, consider using Tricleanium 500ml Adhesive Remover, an acetone-based cleaner that tackles stubborn glue.
It’s wise to start with less potent options before moving to stronger ones to protect your glass.
Remember to apply the glue remover on a cool day for ideal results and follow up with additional cleaner to guarantee all residue is gone.
Safety Precautions When Removing Window Film
When removing window film, it’s crucial to prioritize your safety.
Always wear personal protective equipment like gloves and safety glasses to shield yourself from chemicals and sharp edges.
Additionally, make certain your workspace is well-ventilated to reduce the risk of inhaling harmful fumes.
Personal Protective Equipment
To safely remove window film and its residue, wearing the right personal protective equipment (PPE) is essential.
Start by donning gloves and safety glasses to protect your skin and eyes from irritation. A long-sleeved shirt and pants will shield your skin from chemical exposure and splashes. Be sure to wear enclosed footwear to guard against sharp objects or glass shards.
If you’re using solvents like acetone, consider a respirator like the Trojan A1+P2 Half Mask Respirator for respiratory protection.
Always remain cautious of the shatter risk associated with glass panels to minimize accidents during the removal process.
Chemical Handling Caution
After putting on your personal protective equipment (PPE), it’s important to prioritize safety while handling chemicals for window film removal.
Always wear safety glasses, gloves, and long-sleeved clothing to guard against chemical splashes and fumes. Ascertain good ventilation by opening windows or using fans to minimize inhalation of harmful chemicals.
If you’re using acetone or strong solvents, consider wearing a respirator for lung protection. Be cautious with glass panels, as they can shatter due to heat or chemical stress.
Finally, read manufacturer instructions carefully for safe application and first aid measures in case of exposure.
Why Professional Removal Services Are Beneficial
While you might consider tackling window film removal on your own, opting for professional services can save you time and assure a flawless result.
Here’s why choosing experts makes sense:
- They use specialized tools and techniques to protect your glass.
- Experienced technicians can identify issues that need addressing before applying new film.
- Access to high-quality solvents guarantees a cleaner finish without stubborn residue.
With professional removal services, you reduce the risk of common mistakes and enjoy peace of mind knowing your windows are in good hands.
Plus, many offer free estimates tailored to your needs.