To clean your fabric recliner, start by vacuuming with an upholstery brush to remove dust and dirt. Next, perform a spot test on a hidden area with your chosen cleaner. Mix mild detergent with warm water to clean the fabric, carefully blotting any stains without rubbing. Allow your recliner to air dry fully, and vacuum again to fluff the upholstery. If you need tips for ongoing care and stain management, there’s much more to explore.
Key Takeaways
- Clear the area around the recliner, removing pillows and blankets, to prepare for effective cleaning.
- Vacuum the upholstery using a brush attachment to eliminate dust, dirt, and allergens.
- Conduct a spot test with your chosen cleaning solution on an inconspicuous area before full application.
- Mix mild detergent with warm water for cleaning; gently scrub the fabric and allow it to air dry completely.
- Schedule regular maintenance every 6-12 months and address spills immediately to preserve fabric quality.
The Importance of Cleaning Your Recliner
Cleaning your recliner isn’t just about aesthetics; it’s essential for your health and comfort. Regular cleaning helps maintain hygiene by eliminating dust, crumbs, and allergens that can accumulate over time.
By investing time in cleaning, you can prevent wear and tear on your upholstery, extending its lifespan and ensuring it remains a cozy spot for you and your family.
A clean recliner not only enhances your relaxation experience but also promotes a healthier environment, reducing bacteria and allergens in your living space.
Plus, well-maintained recliners hold higher resale value, making them a smart long-term investment for your home.
Preparation for Cleaning
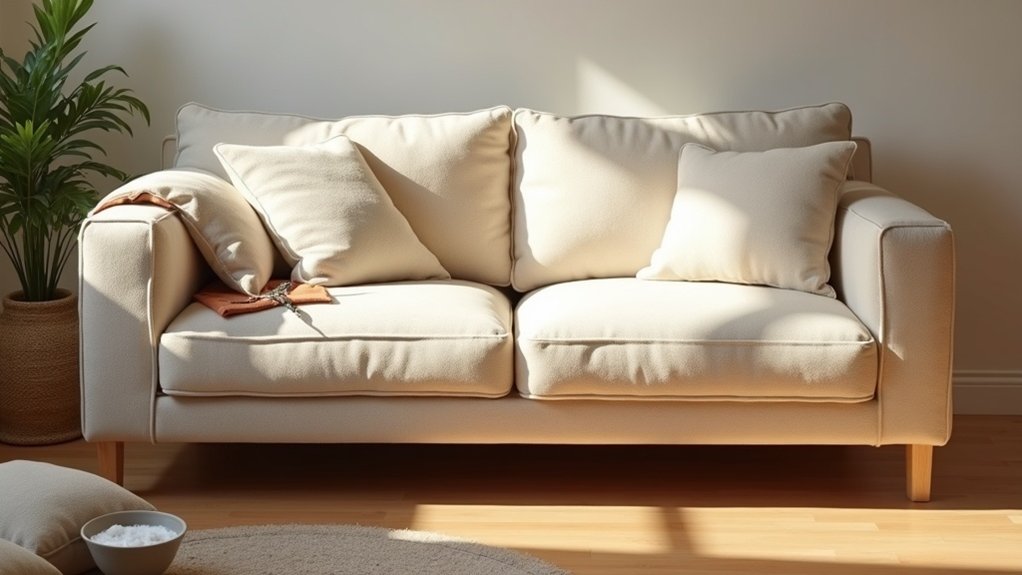
Before you start cleaning your fabric recliner, clear away any throw pillows and blankets to give yourself plenty of space.
Make sure you’re in a well-ventilated area to help with drying and keep fumes at bay.
Finally, gather all the necessary cleaning supplies, including a vacuum, mild detergent, and microfiber cloths, so you’re ready to tackle any mess.
Remove Accessories and Debris
To get your fabric recliner ready for a thorough cleaning, start by removing any throw pillows, blankets, or decorative items that might be cluttering the surface.
Next, check under the cushions and in crevices to remove loose dirt, crumbs, or small items that have accumulated over time.
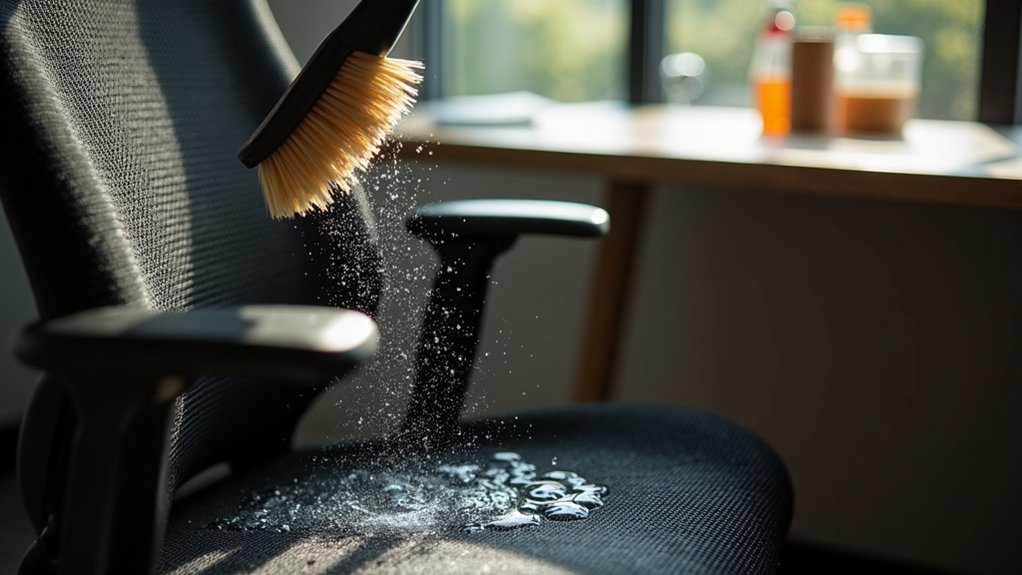
Use a vacuum with an upholstery brush attachment to effectively eliminate dust and dirt from the entire surface.
For any stubborn spots, keep a clean cloth or soft cloth handy to gently wipe them away.
This preparation sets the stage for a successful and efficient cleaning process.
Choose a Ventilated Area
Selecting a well-ventilated area for cleaning your fabric recliner is essential for a successful process. Proper air circulation helps with drying and minimizes harmful fumes from cleaning supplies.
Avoid confined spaces to reduce the risk of inhaling airborne particles. Position your recliner near an open window or use a fan to enhance ventilation.
Additionally, guarantee the area is free from distractions, allowing you to focus on the task and prevent spills or accidents. Having everything ready before you start can streamline your efforts, making the cleaning process smoother and more efficient.
Gather Cleaning Supplies Needed
Gathering the right cleaning supplies is essential for effectively tackling your fabric recliner. Start by checking the care tag for the cleaning code, which guides you on suitable agents.
Here’s what you’ll need:
- Vacuum with an upholstery brush
- Mild detergent
- Soft cloths
- Water
- Specialized fabric cleaner (if needed)
Prepare a cleaning solution by mixing the mild detergent with warm water, confirming it matches your recliner’s cleaning code.
Keep paper towels handy for quick blotting of spills.
Finally, verify your cleaning area is well-ventilated to help with drying and reduce exposure to any cleaning product fumes.
Dry Dusting Techniques
When it comes to dry dusting your fabric recliner, start by using a vacuum cleaner with an upholstery brush to pick up loose dirt and dust.
Make sure to get into all the nooks and crannies, as these areas can trap debris that wears down the fabric over time.
For those tricky spots, a microfiber cloth or duster works wonders to catch fine particles without causing any damage.
Vacuuming Loose Debris
To keep your fabric recliner looking fresh and inviting, start by vacuuming loose debris regularly.
Use a vacuum cleaner with an upholstery brush attachment and focus on these areas:
- Seating area
- Backrest
- Sides and bottom
- Seams and folds
- Hidden crevices
Make certain to run the nozzle along seams where dirt and crumbs accumulate.
For best results, vacuum at least once a week to prevent allergens and dirt buildup.
Finally, always check the manufacturer’s cleaning code to verify compatibility with your recliner’s fabric.
A simple clean cloth can help with any stubborn spots after vacuuming.
Upholstery Brush Usage
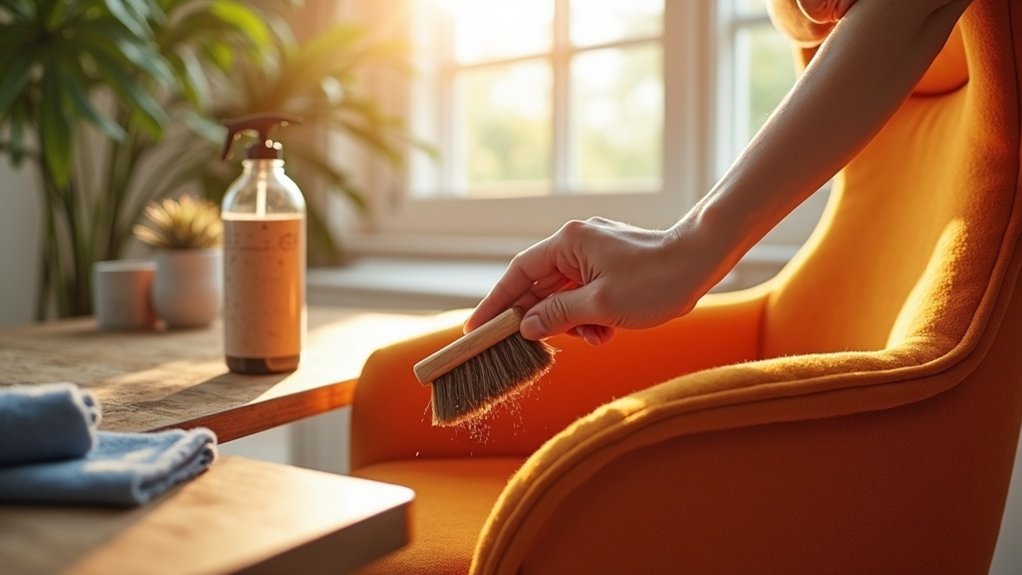
Using an upholstery brush can be a game-changer for maintaining your fabric recliner’s appearance. This tool effectively lifts and removes loose dirt without damaging the fibers.
To use it properly, always brush in the direction of the fabric nap, preventing any fuzz or texture damage. Incorporating this dry dusting technique into your cleaning routine not only keeps your recliner looking fresh but also reduces allergens and bacteria buildup, creating a healthier environment.
For best results, vacuum first with an upholstery brush attachment before detailed cleaning. Regular use extends the lifespan of your fabric recliner, ensuring it stays inviting for years.
Dusting Hard-to-Reach Areas
After keeping your fabric recliner looking sharp with an upholstery brush, it’s time to tackle the dust that hides in hard-to-reach areas.
To effectively remove loose dirt and allergens, consider these techniques:
- Use a vacuum with an upholstery brush attachment.
- Employ a soft-bristle brush for seams and crevices.
- Utilize a lint roller for quick pet hair pickup.
- Wipe down surfaces with a microfiber cloth.
- Regularly dust to maintain a healthy environment.
Spot Testing Cleaning Products
How can you ascertain that your cleaning products won’t damage your fabric recliner?
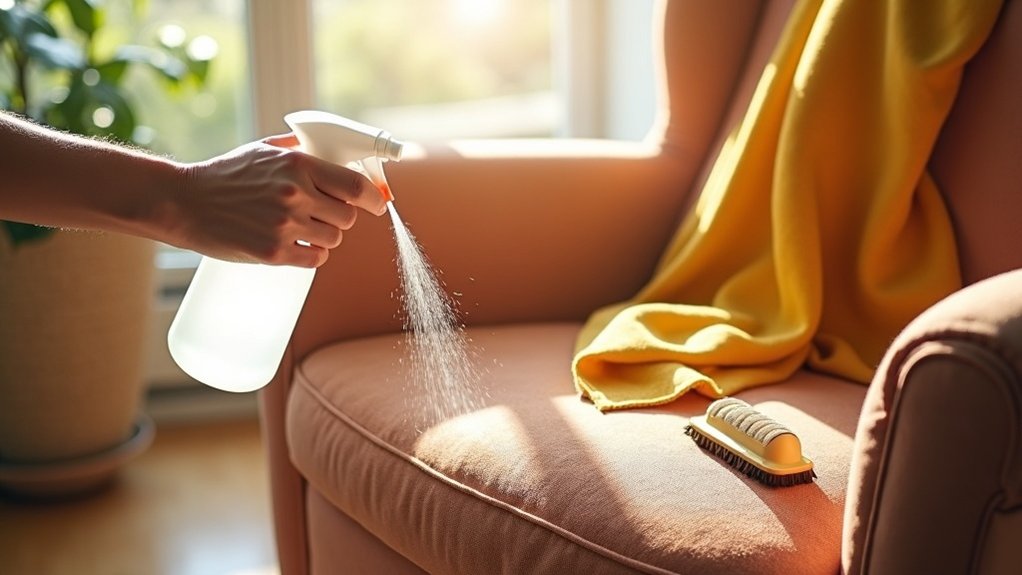
Always conduct a spot test on an inconspicuous area first. Apply a small amount of the cleaning product with a soft cloth and wait 5-10 minutes to check for discoloration or damage. If there’s no adverse reaction, you’re good to go!
Remember to check your fabric’s cleaning code; use water-free solvents for ‘S’ coded fabrics and water-based solutions for ‘W’ coded ones.
Each time you try a new cleaning product or homemade solution, repeat the spot test for safety before tackling larger areas.
Upholstery Cleaning Process
Cleaning your fabric recliner can be a straightforward process if you follow a few essential steps. Start by removing any throw pillows and blankets, and make certain you’re in a well-ventilated area.
- Vacuum the fabric with an upholstery brush.
- Conduct a spot test with your upholstery cleaner.
- Mix mild detergent with warm water.
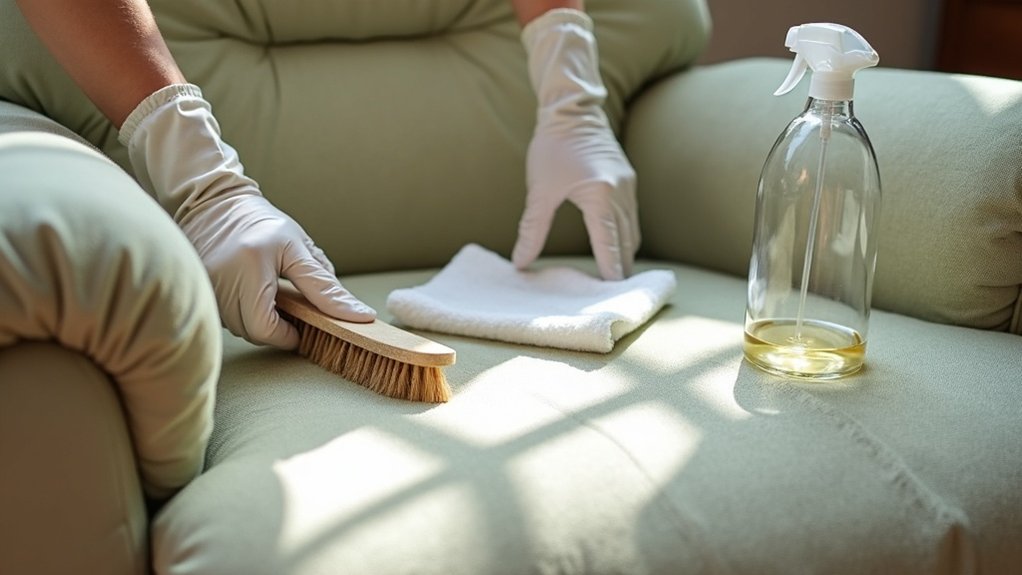
- Use a soft cloth to gently clean each section, avoiding oversaturation.
- Allow the recliner to air dry completely.
Finally, vacuum again to fluff the upholstery and remove any leftover particles. This way, your recliner stays fresh and inviting for everyone to enjoy!
Stain Removal Techniques
Maintaining a clean fabric recliner isn’t just about regular cleaning; it’s also about tackling stains effectively.
For stubborn stains, always use a soft cloth to blot the area instead of rubbing, which can spread the stain. If you’re dealing with liquid spills, gently blot to absorb excess liquid, then use a soft-bristle brush to lift the stain.
For specialized stains, apply a mild cleaner according to the manufacturer’s instructions. Remember to rinse out all cleaning solutions thoroughly, as any residue can attract dirt and lead to further staining.
Acting quickly increases your chances of successful stain removal.
Drying and Final Touches
Once you’ve tackled the stains, letting your fabric recliner air dry thoroughly is essential for preserving its appearance.
Place it in a well-ventilated area, avoiding direct sunlight to prevent fading.
After it’s dry, complete these final touches:
- Vacuum the upholstery using an attachment to fluff the fabric.
- Inspect for any areas needing additional cleaning or touch-ups.
- Consider applying a fabric protector to safeguard against future stains.
- Schedule regular maintenance cleaning every 6-12 months.
Enjoy your freshly cleaned recliner, knowing you’ve taken the best care of it!
Regular Maintenance Tips
To keep your fabric recliner looking its best, regular maintenance is key.
Regular maintenance is essential for keeping your fabric recliner in top condition and looking its best.
Vacuum it at least once a week with an upholstery attachment to eliminate dust and debris. For spills, use a soft cloth and the appropriate cleaning solution based on the fabric’s cleaning code to tackle spots immediately.
Rotate cushions regularly to guarantee even wear and prevent sagging, maintaining comfort. Schedule a deep clean every 6-12 months, following care instructions.
Finally, protect your recliner from direct sunlight and heat sources to prevent fading. With these simple steps, you’ll serve both your recliner and your home beautifully.