To clean awning windows, first gather your tools like a sturdy ladder, bucket, and soft-bristled brush. Prepare a vinegar-based solution or a mild soapy mix. Carefully remove the screen and clean the frame with the brush. Open the window and apply the cleaning solution, then use a squeegee from top to bottom for a streak-free finish. Don’t forget to reinstall the screen and wipe down the exterior frame for a polished look. There’s more you can do to keep them sparkling!
Key Takeaways
- Use a sturdy ladder to safely access and reach the awning windows for cleaning.
- Prepare a vinegar-based cleaning solution or soapy water for effective dirt removal.
- Remove screens gently to clean them separately with a soft-bristled brush and mild detergent.
- Apply the cleaning solution to the window using a sponge, then use a squeegee to avoid streaks.
- Reattach the screens securely and inspect them for any damage before regular maintenance.
Gather the Necessary Tools and Equipment
Cleaning awning windows can be a straightforward task if you have the right tools and equipment on hand.
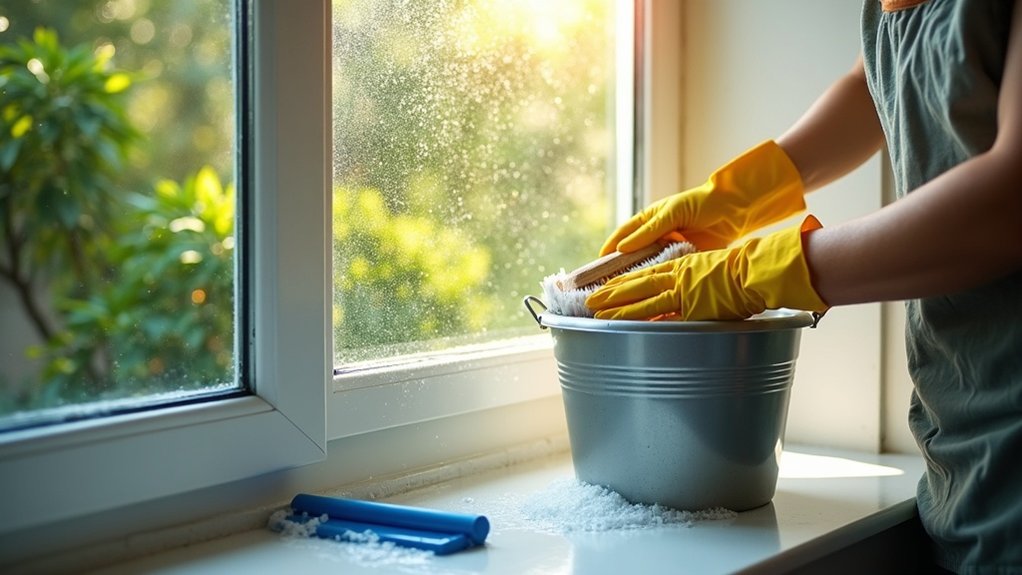
Start by gathering a sturdy ladder to safely access upper floors. You’ll need a bucket for mixing your cleaning solutions and holding your tools. A soft-bristled brush is essential for gently cleaning the window frame and screen without causing any damage.
Gather essential tools like a sturdy ladder, bucket, and soft-bristled brush for safe and effective awning window cleaning.
Don’t forget a squeegee; it’s vital for removing the cleaning solution and excess water, ensuring a streak-free finish.
With these tools ready, you’re well-prepared to tackle the job and serve others by restoring the beauty of their windows.
Prepare the Cleaning Solution
To effectively clean your awning windows, you need to prepare the right cleaning solution.
A vinegar-based mix of one part white vinegar to ten parts water works wonders, or you can opt for a soapy blend with warm water and a few drops of dish soap.
Always verify your chosen solution is safe for your window materials and ready in a bucket for easy use.
Recommended Cleaning Solutions
Creating an effective cleaning solution for your awning windows can make a significant difference in the ease and quality of your cleaning process.
For an eco-friendly option, mix one part white vinegar with ten parts clean water. Alternatively, you can create a gentle soapy mixture using warm water and a few drops of dish soap.
If you prefer commercial products, make sure you follow the manufacturer’s instructions and avoid ammonia or alcohol-based solutions.
Always mix your cleaning solution well in a bucket to enhance its effectiveness in removing dirt and grime. This preparation makes your window cleaning task more efficient and enjoyable.
Mixing Ratios Explained
While it’s easy to overlook the importance of proper mixing ratios, getting your cleaning solution right can greatly enhance your awning window cleaning experience.
For a vinegar-based solution, mix one part white vinegar with ten parts water. This mixture effectively cleans without harsh chemicals.
Alternatively, create a soapy solution using warm water and a few drops of dish soap to lift dirt.
If you opt for commercial cleaners, follow the manufacturer’s instructions, avoiding ammonia or alcohol.
Always verify your cleaning solution is well-mixed before use, and keep a bucket ready to simplify the cleaning process.
Happy cleaning!
Remove the Screen and Clean the Frame
Removing the screen from your awning window is a straightforward process that guarantees you can clean both the screen and the frame effectively.
Start by gently sliding the screen out from the tracks—don’t force it to avoid damage. Once removed, use a soft-bristled brush to clean the frame thoroughly, paying attention to corners and crevices where dirt collects.
For the screen, mix water with mild detergent and scrub it gently with a soft brush or vacuum attachment. Rinse it thoroughly to eliminate soap residue and let it dry completely before reattaching.
Regular cleaning helps prevent dirt buildup over time.
Open the Window
To open your awning window, first lift the sash lock handle to release it.
Next, rotate the crank handle to open the window outward. This gives you easy access to the exterior glass, making cleaning much simpler.
Verify the window opens wide enough for thorough cleaning while maintaining safety and stability.
Don’t forget to check for any emergency-exit hardware that may allow a wider opening if necessary.
- Feel the fresh air rush in.
- Embrace the beauty of the outdoors.
- Enjoy the sunlight flooding your space.
- Experience the satisfaction of cleanliness.
- Create a safe, inviting environment.
Clean the Window and Finish
To clean the window effectively, start by applying your chosen cleaning solution evenly with a sponge or cloth.
Once the glass is covered, use a squeegee, working from the top down to avoid streaks, and remember to wipe the blade after each stroke.
Finally, dry the window with a clean cloth to enhance clarity and eliminate any water spots.
Apply Cleaning Solution Evenly
As you prepare to clean your awning windows, evenly applying the cleaning solution is essential for achieving a streak-free shine.
Start by wetting the window surface with a sponge or cloth, ensuring full coverage. Apply the solution from the top down, allowing drips to fall and minimizing streaking.
- Enjoy the satisfaction of spotless glass.
- Make your home shine and feel welcoming.
- Breathe in the fresh, clean air.
- Take pride in maintaining your space.
- Brighten your day with a clear view.
Finally, dry with a clean cloth to remove excess water and enhance that beautiful shine.
Use Squeegee Technique Properly
Using the squeegee technique effectively can make a significant difference in the cleanliness of your awning windows. Start at the top, pulling the squeegee down in smooth, even strokes. Wipe the blade with a clean cloth after each stroke to prevent dirt from redepositing. Repeat this until the entire window is clean and free of soap residue. Remember, a clean finish enhances clarity.
| Step | Action | Purpose |
|---|---|---|
| 1 | Wet the surface | Loosen dirt and grime |
| 2 | Use the squeegee | Remove cleaning solution |
| 3 | Wipe after each stroke | Avoid streaks |
| 4 | Repeat if necessary | Guarantee thorough cleaning |
| 5 | Finish with edges | Eliminate water spots |
Dry With Clean Cloth
After squeegeeing your awning windows, grab a clean, dry cloth to finish the job and guarantee a spotless shine.
Using a microfiber towel helps absorb moisture while minimizing scratches. Pay close attention to the corners and edges, as water tends to collect there, creating unsightly marks. Ascertain your cloth is lint-free to avoid leaving debris on the glass.
Regularly wash or change your drying cloth to maintain its effectiveness. A sparkling clean window can evoke feelings of:
- Pride in your home
- Joy in the view
- Satisfaction in your efforts
- Comfort in the environment
- A warm welcome for guests
Reinstall the Screen and Clean the Exterior of the Frame
Once you’ve finished cleaning the window and frame, it’s time to reinstall the screen securely in its tracks.
Check the screen for any signs of damage or wear; a compromised screen can impact airflow and functionality. Slide it back into place, ensuring it fits snugly without gaps.
Inspect the screen for damage before reinstalling; a snug fit is essential for optimal airflow and functionality.
Once reinstalled, use a damp cloth to wipe down the exterior of the frame, removing any leftover debris or cleaning solution. For hard-to-reach areas, a soft-bristled brush can help clean corners and crevices thoroughly.
Regularly inspect the screen and frame to maintain their performance and extend the lifespan of your awning windows.